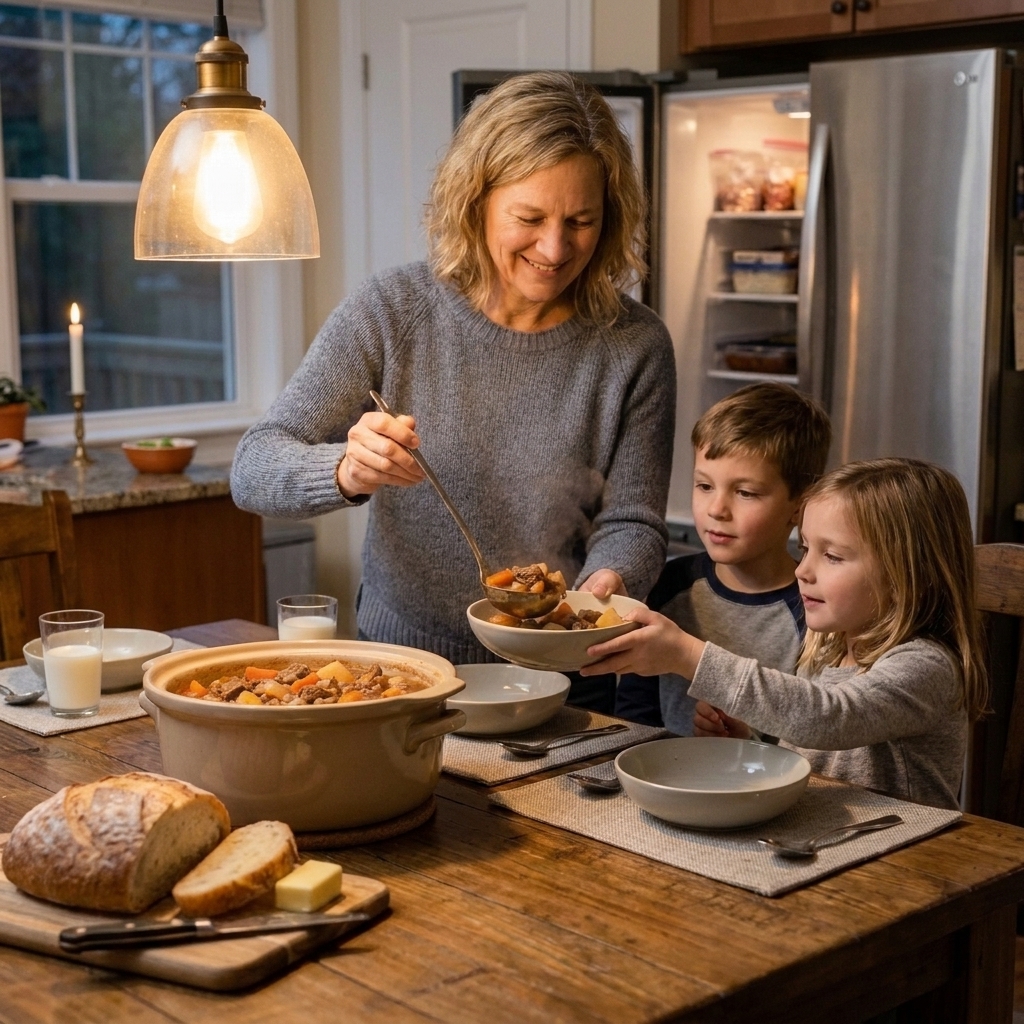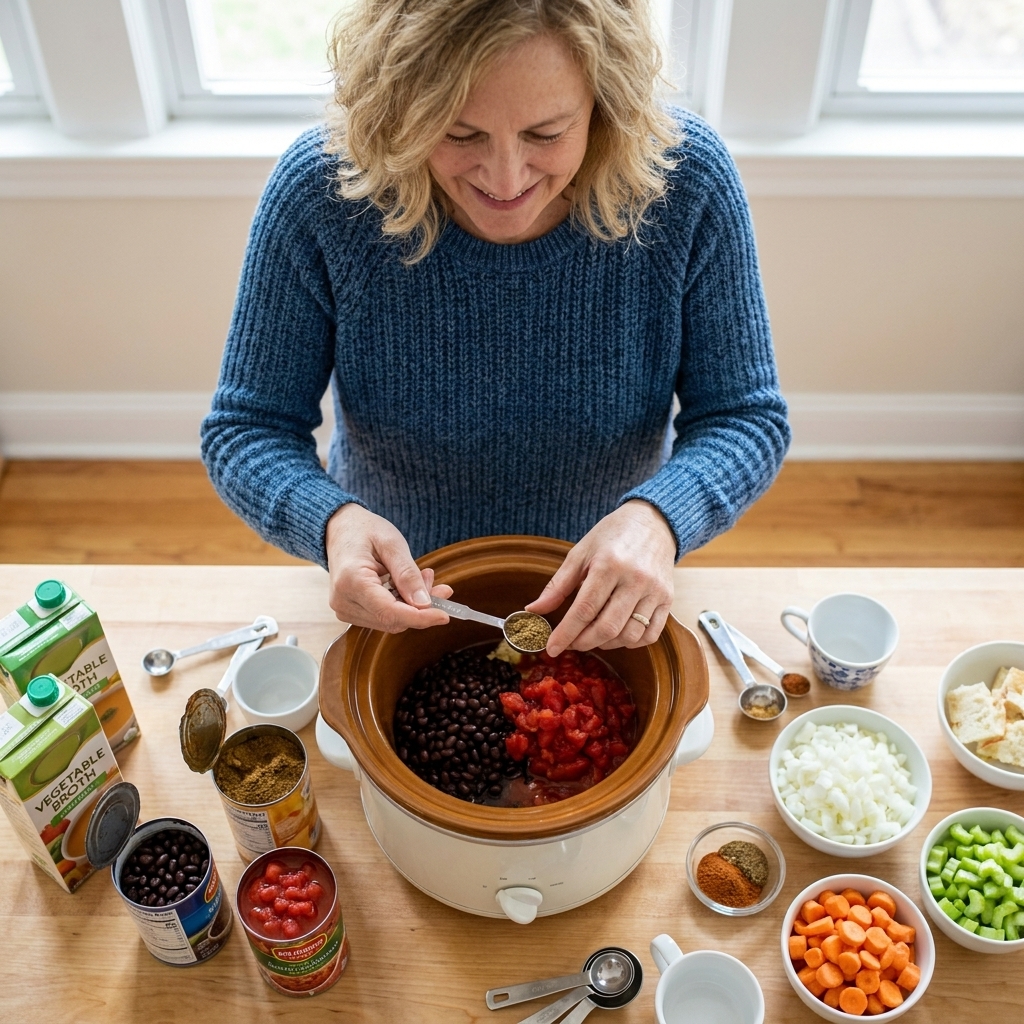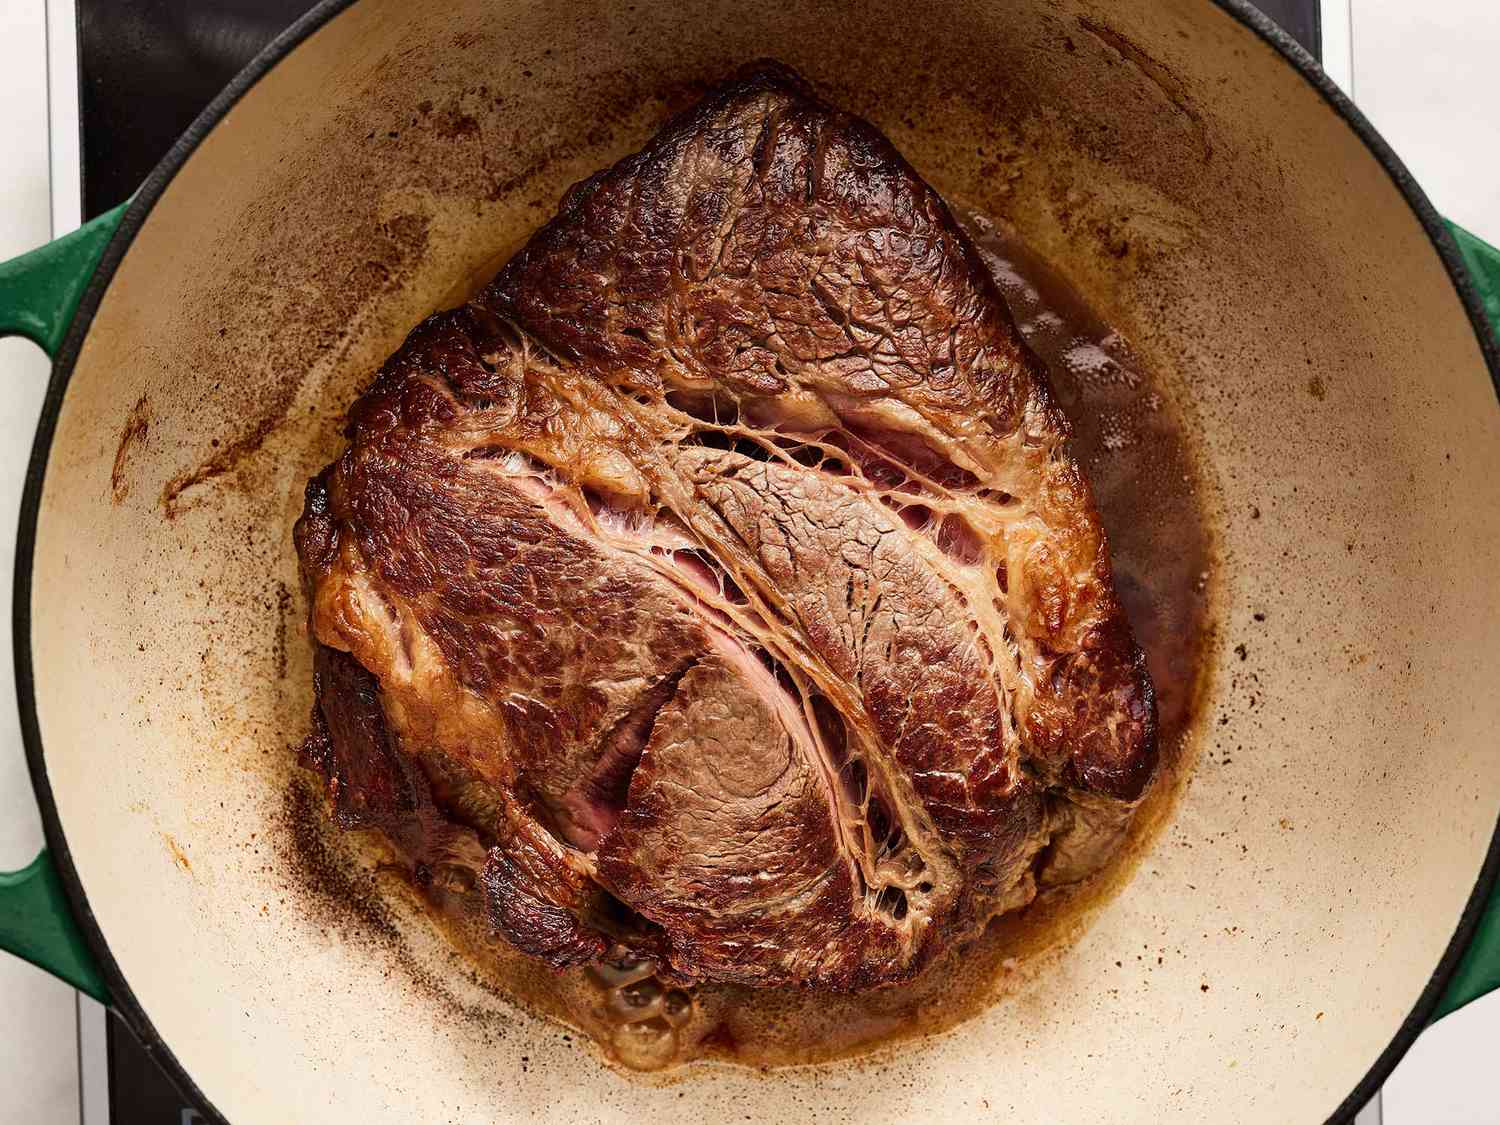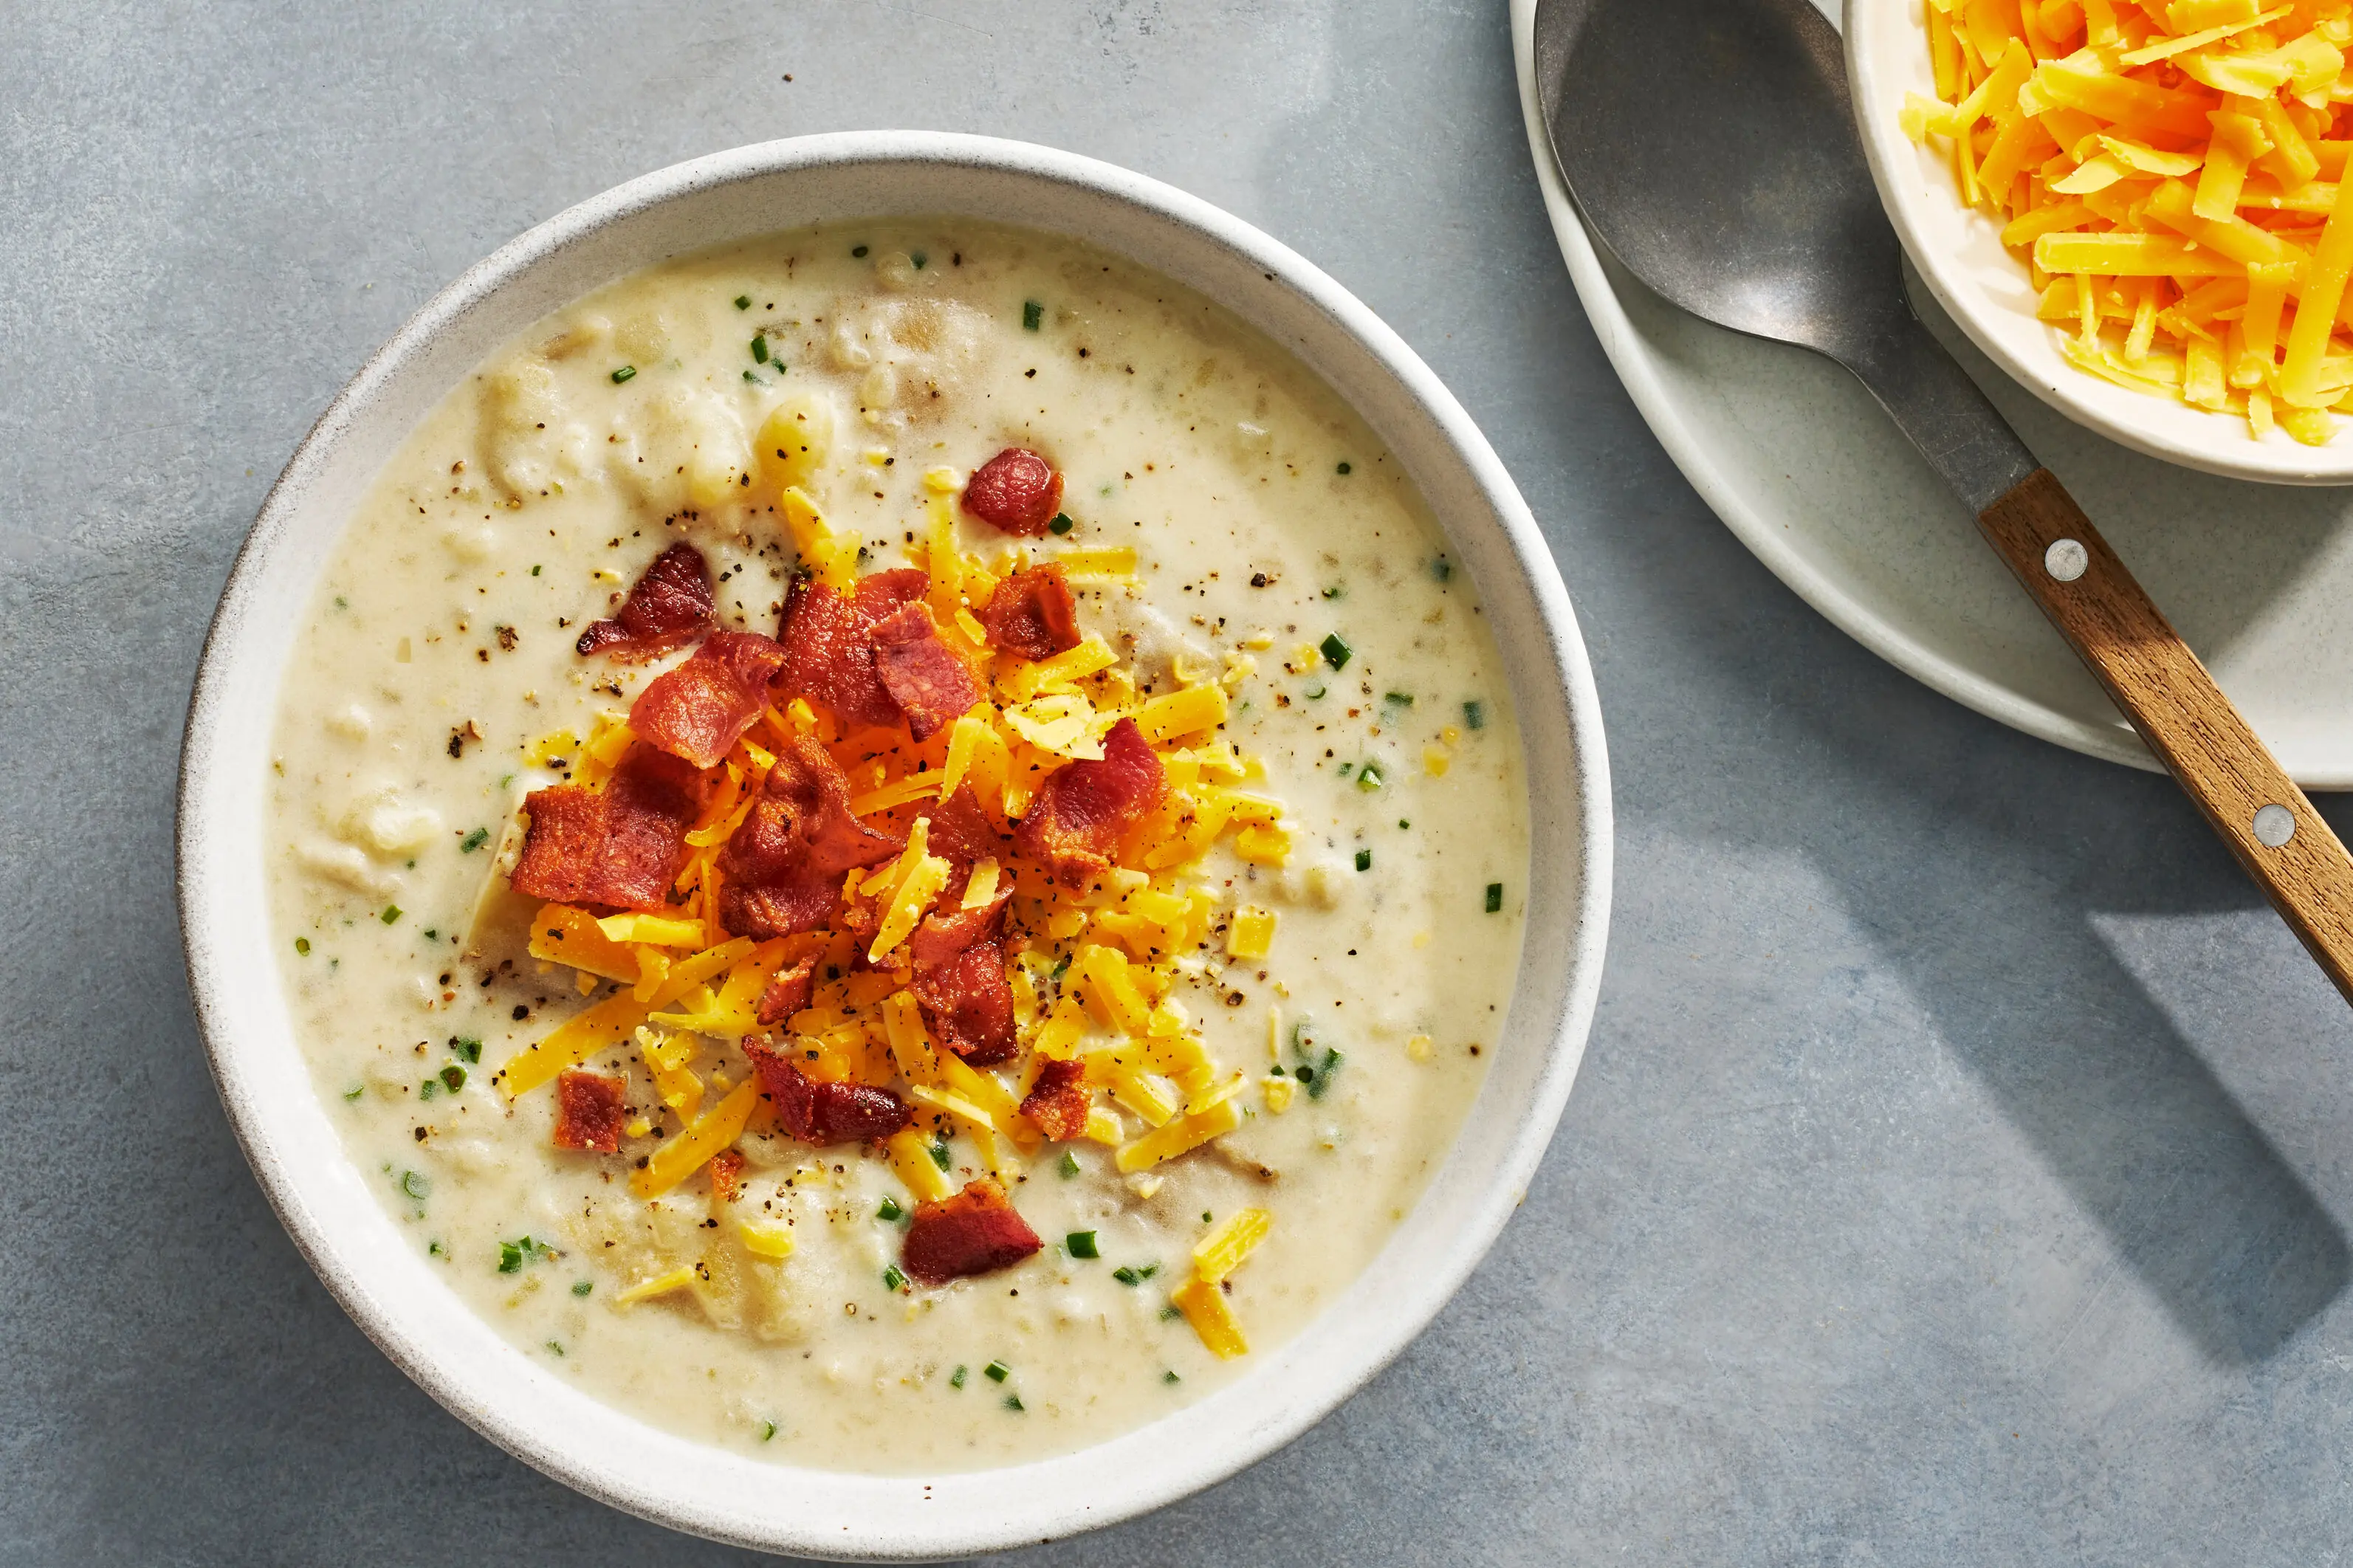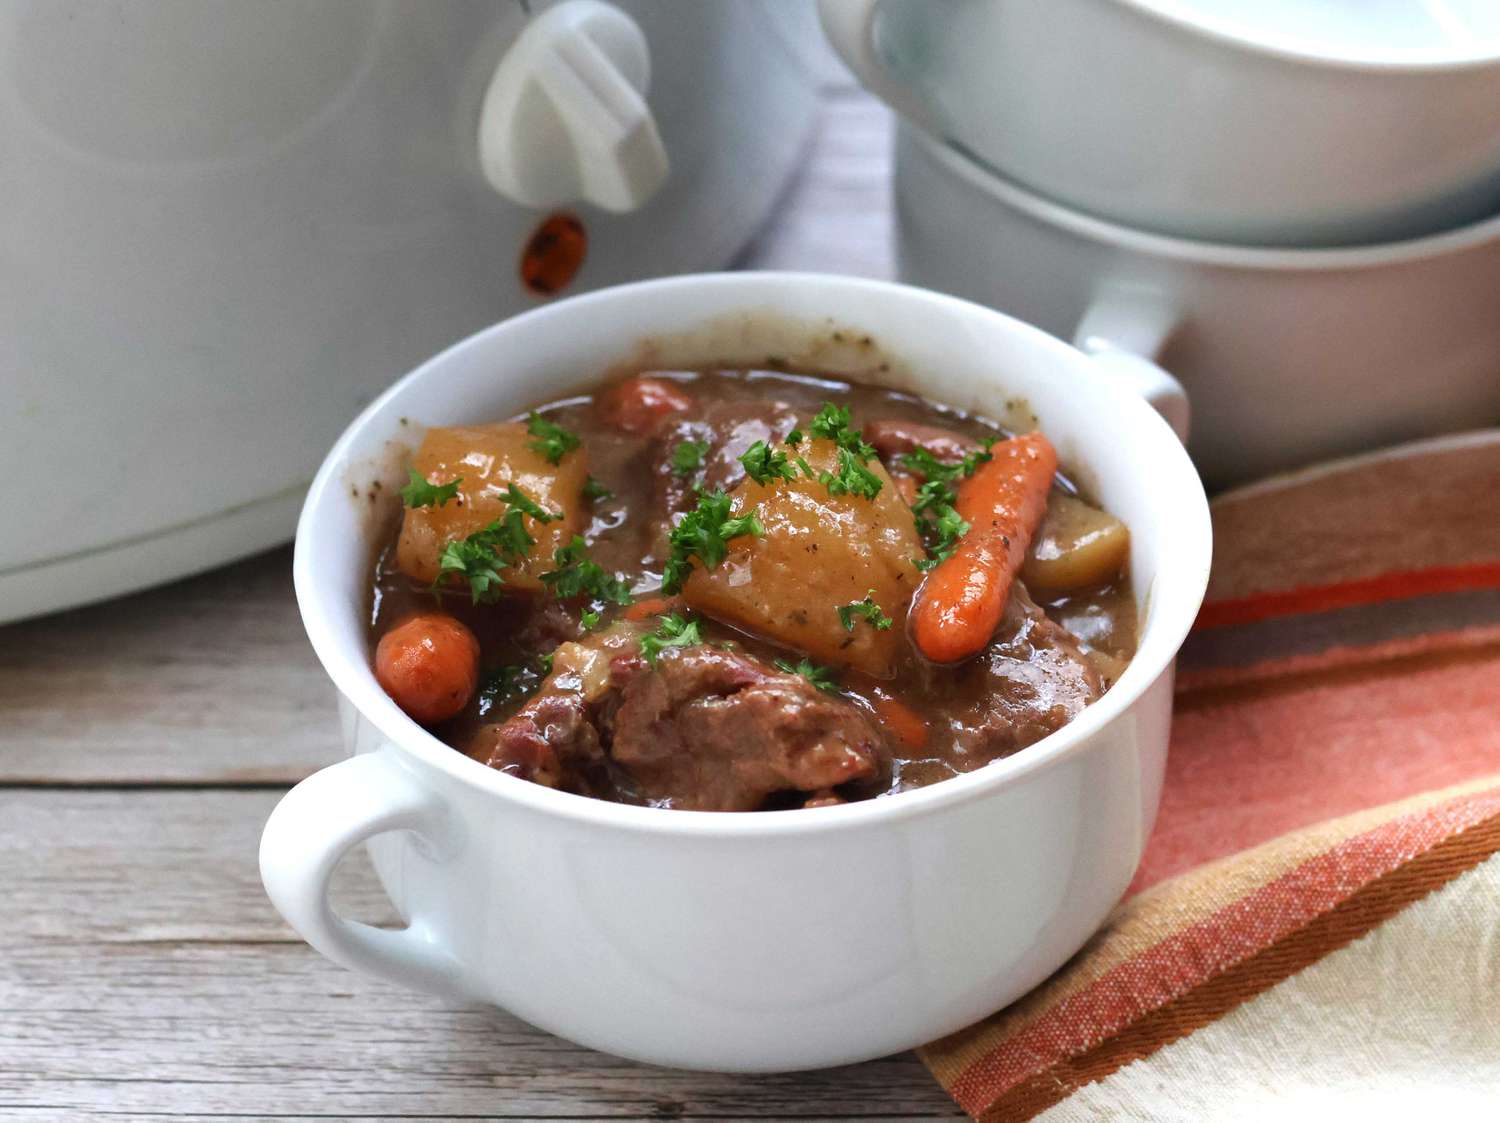
If weeknights feel like a sprint from the car to the kitchen (with backpacks, emails, and hungry people trailing behind you), dump-and-go slow cooker freezer meals are your secret weapon. You do the work once, when you’ve got a little breathing room, then future-you gets to drop a bag into the slow cooker and get on with life.
This is the exact process I use to stock a week of wholesome, home-cooked dinners without spending every evening chopping onions at 5 PM.
What dump-and-go means
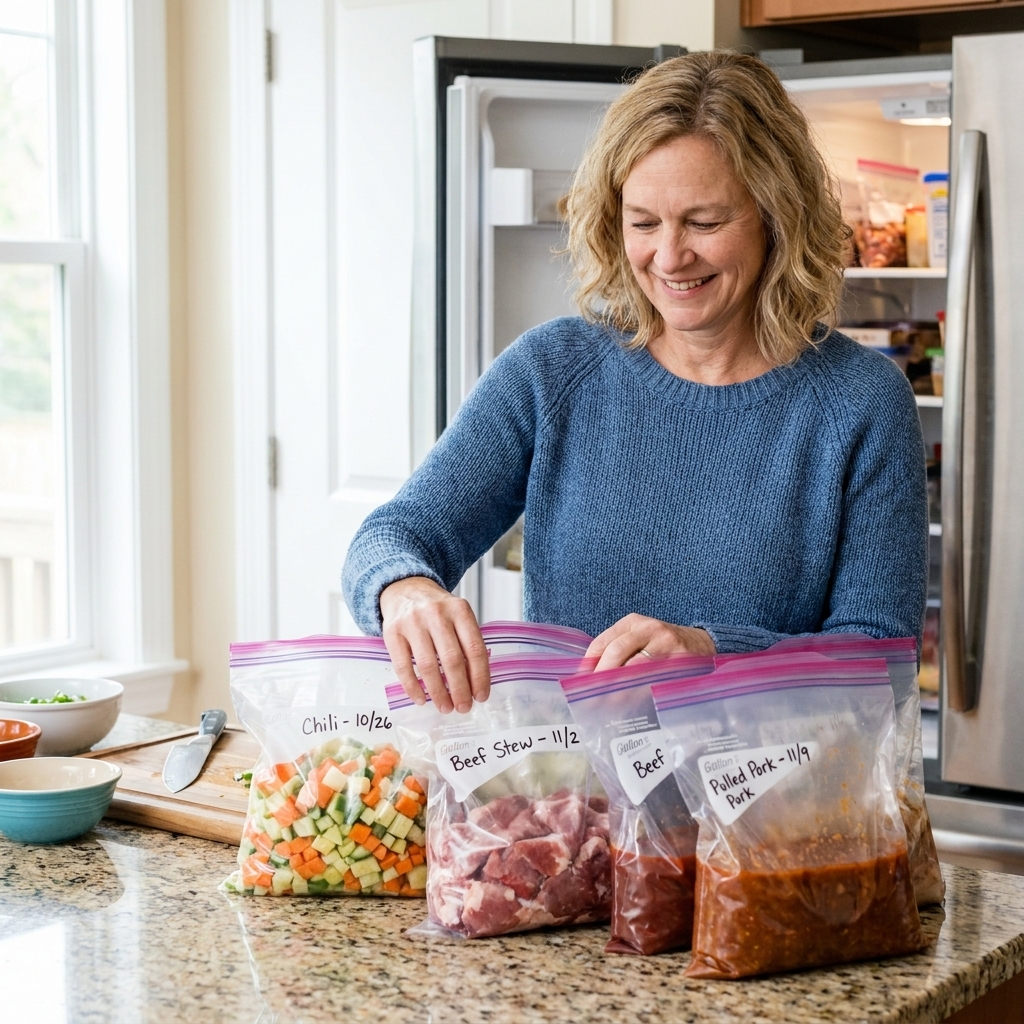
A dump-and-go freezer meal is a pre-assembled ingredient bag (or container) that you freeze, usually raw. When you’re ready to cook, you thaw it safely, then dump it into your slow cooker and cook until tender.
- You prep once: chopping, measuring, and seasoning happens ahead.
- You skip the skillet: no browning, no sauteing required (totally optional if you love it).
- You still get real food: hearty proteins, veggies, and flavorful sauces, not mystery dinners.
Common exceptions: Some ingredients are often cooked first before freezing, like store-bought frozen meatballs or pre-cooked/browned ground beef or turkey.
Tools that make prep easy
You don’t need fancy gear, but a few basics make the whole thing smoother.
- Freezer-safe zip bags (quart for 2 to 3 servings, gallon for 4 to 6 servings)
- Sheet pan or cutting board to prop bags upright while filling
- Measuring cups and spoons
- Permanent marker for labels
- Disposable gloves (optional, but I like them for raw chicken nights)
- Large bowl for mixing sauces
- Slow cooker liner (optional, not necessary, but handy on chaotic days)
My mom tip: Set up a “bag filling station” right next to the trash can. It saves you about 14 trips across the kitchen.
What freezes well (and what doesn’t)
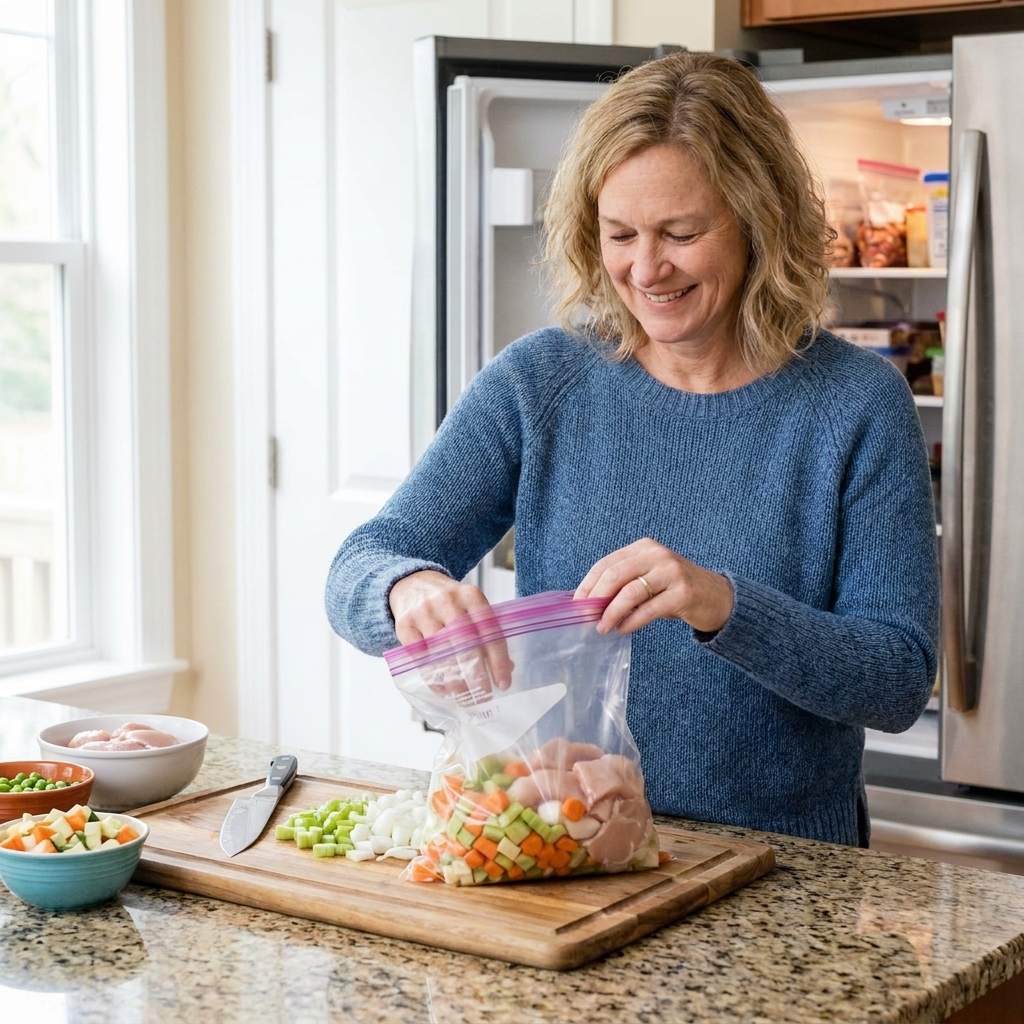
Great freezer meal ingredients
- Proteins: chicken thighs or breasts, pork shoulder, beef stew meat, ground beef or turkey (raw or cooked), meatballs
- Aromatics: onion, garlic, ginger
- Most veggies: bell peppers, carrots, celery, corn, peas, green beans, chopped kale (expect a softer texture after freezing and slow cooking)
- Beans: canned beans (drained and rinsed) freeze fine in saucy meals
- Sauces: salsa, enchilada sauce, tomato sauce, broth-based mixes, soy-based sauces, curry pastes
- Dry spices: all your favorites
Ingredients to add later
- Potatoes (they can get grainy): use waxy potatoes if you freeze them, or add fresh on cook day
- Pasta and rice: cook separately or add near the end (rice can turn mushy)
- Dairy (milk, sour cream, cream cheese, yogurt): stir in at the end for a smooth sauce
- Delicate veggies (zucchini, mushrooms): add later if you want them less soft
- Fresh herbs: freezing is fine, but they shine most when added at the end
If you’re ever unsure, here’s the rule I use: freeze the sturdy stuff, finish with the tender stuff.
How to assemble freezer meal bags
1) Pick 4 to 6 meals with overlap
This is where the time savings really show up. If three meals use onions and bell peppers, chop once and split them up. If two meals use taco seasoning, mix a small bowl of it and divide it.
2) Mix a sauce base first
Instead of mixing spices into each bag separately, stir your sauces in a bowl and pour. It’s faster, and you get more even seasoning.
3) Layer ingredients in a smart order
For flatter bags that stack neatly, build them like this:
- Sauce first (it can help reduce freezer burn by coating ingredients, but pressing out air matters most)
- Meat next
- Veggies last (especially anything you want to stay in pieces)
4) Press out air and freeze flat
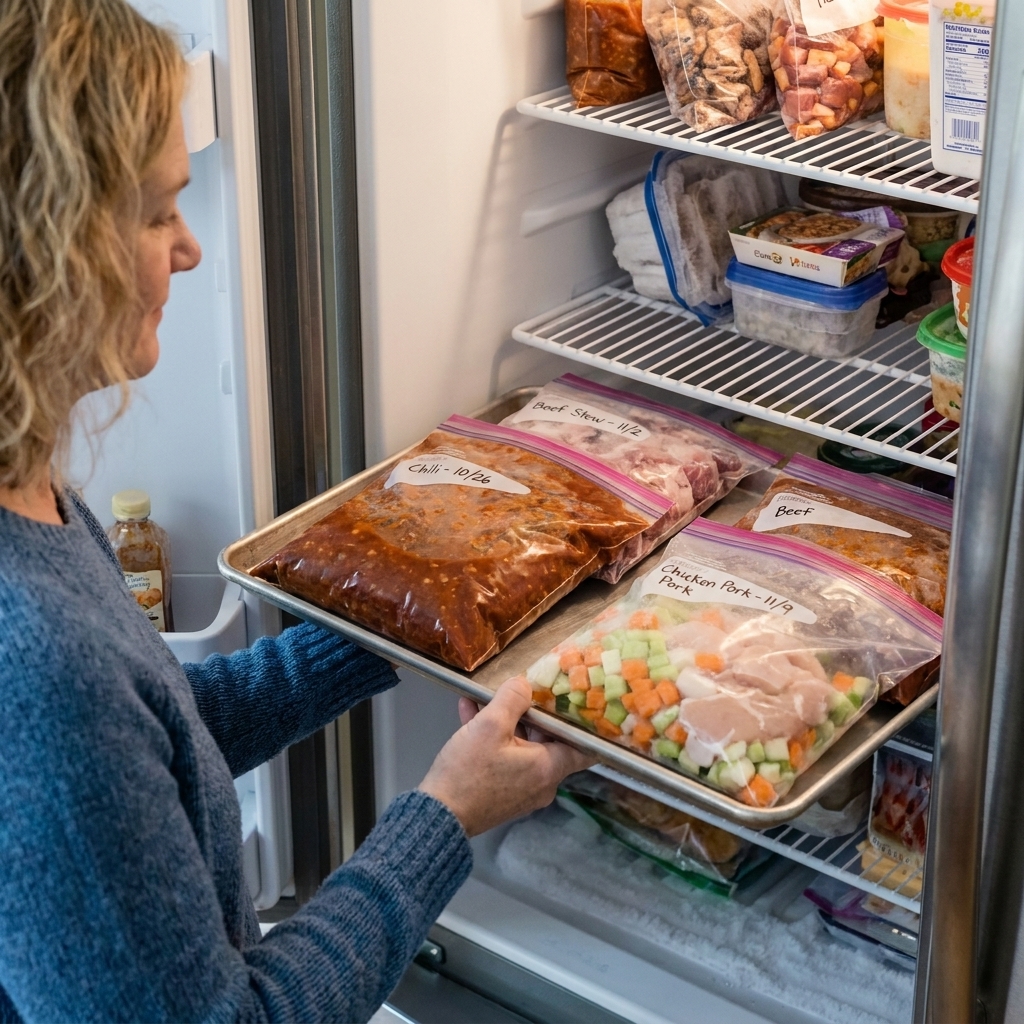
Air is the enemy in the freezer. Press out as much as you can, seal tightly, then lay bags flat on a sheet pan to freeze. Once they’re fully frozen, store them upright like files.
5) Label like you mean it
I label before filling so I’m not balancing a drippy bag while hunting for a marker.
- Meal name
- Date prepped
- Cook time (LOW or HIGH)
- Any “add later” ingredients (like cream cheese, spinach, pasta)
- Serving suggestion (rice, tortillas, buns, salad)
Real-life example label: “Salsa Chicken, 10/18. Cook LOW 6 to 7 hrs. Add cream cheese at end. Serve in tortillas.”
One more practical tip: Don’t overfill your bags. Leave a little headspace so you can press out air, seal cleanly, and account for expansion as it freezes. If you’ve had leaks before, double-bag the meal.
Food safety: thawing and cooking
Freezer meals make life easier, but we still need to treat raw meat with respect. Here’s the safest approach.
Best thaw methods
- Overnight in the fridge: easiest and safest. Put the bag in a bowl in case of leaks.
- Cold water thaw: submerge the sealed bag in cold water, changing the water every 30 minutes.
Please don’t thaw on the counter. It’s not worth the risk.
Can I cook it from frozen?
I don’t recommend starting a slow cooker with a fully frozen block of raw meat and sauce. Slow cookers heat gradually, and food can sit too long in the temperature danger zone. If you’re in a pinch, thaw first (fridge or cold water), or use a pressure cooker instead.
Cook to safe temps
Cook times vary a lot by slow cooker and how cold your ingredients are when they go in, so I treat times as a guide and use internal temperature as the real finish line. Poultry should reach 165°F/74°C. When in doubt, check with a thermometer.
How long do freezer meal bags last?
For best quality, I aim for up to 3 months. If a meal stays continuously frozen at 0°F/-18°C, it remains safe longer, but flavor and texture can fade over time.
My Sunday prep workflow
This is how I keep it doable even when I’m tired.
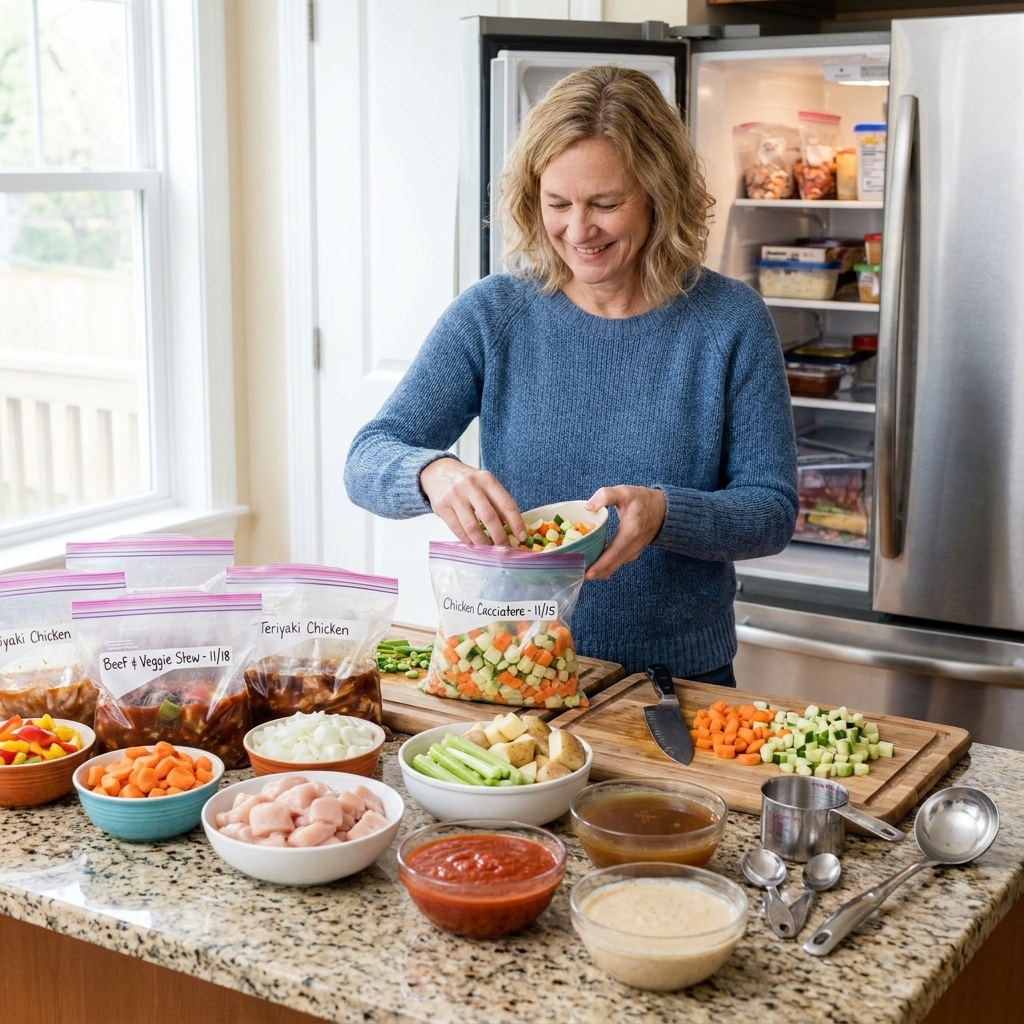
- Pick 5 meals and write your labels first.
- Chop all veggies at once (one cutting board session).
- Mix 2 to 3 sauces in bowls.
- Line up bags like little open trash cans in a row (I prop them in mugs or a baking dish).
- Assembly line fill: sauce, meat, veggies.
- Wipe, seal, press out air.
- Freeze flat on sheet pans.
What to serve on the side
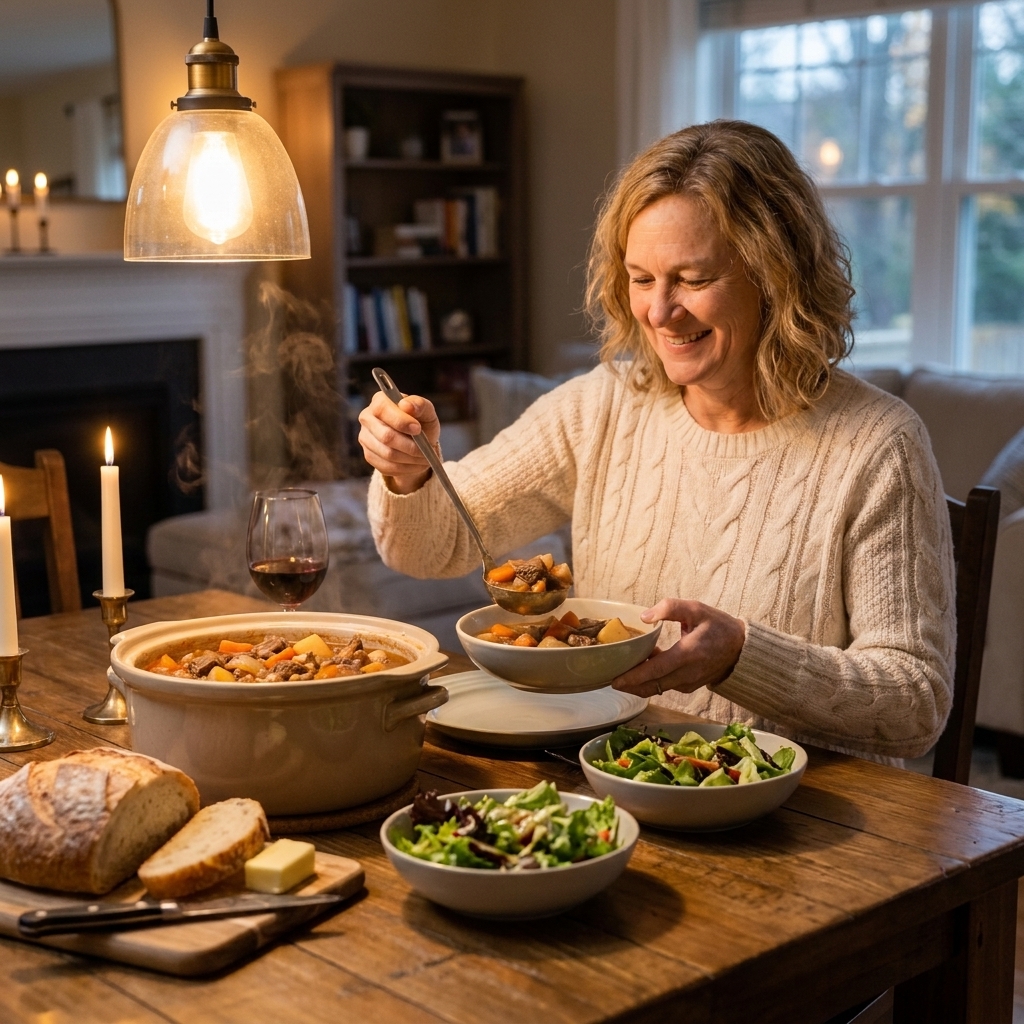
These meals feel extra “done” when you already know what’s going on the side. A few easy staples:
- Microwave rice or frozen cauliflower rice
- Tortillas or store-bought naan
- Bagged salad kit
- Steam-in-bag veggies
- Baked potatoes (you can bake while the slow cooker runs, or use the microwave)
5 beginner-friendly meal ideas
These are the greatest-hits styles I recommend when you’re building your first stash. You can mix and match sauces and veggies based on what your family likes.
- Salsa chicken: chicken + salsa + corn + black beans; add cream cheese at the end if you like it creamy.
- Honey garlic chicken: chicken + soy sauce + honey + garlic + ketchup; serve over rice.
- Beef stew base: stew meat + carrots + celery + onion + broth; add potatoes fresh on cook day.
- Italian meatballs: meatballs + marinara + sliced bell peppers; serve on rolls or over pasta.
- White chicken chili: chicken + white beans + green chiles + broth + spices; stir in sour cream or cream cheese at the end.
If you’re new to freezer meals, start with two bags. Once you see how nice it feels to walk into a house that smells like dinner, you’ll want a whole row in the freezer.
Troubleshooting
My bag leaked in the fridge
Been there. Always thaw in a bowl or on a rimmed plate. If it leaks, transfer the contents to a clean bag or container and keep it refrigerated until cook time.
The meal tastes bland
Freezer meals sometimes need a little wake-up at the end. Try one of these:
- A squeeze of lemon or lime
- A splash of vinegar
- More salt than you think (add gradually)
- A spoonful of pesto, salsa, or hot sauce
- Fresh herbs
My chicken came out dry
Two fixes: use chicken thighs for freezer meals (they’re more forgiving), and avoid overcooking. Chicken often takes about 5 to 7 hours on LOW, but thickness, starting temperature, and slow cooker model matter, so check for doneness and temperature instead of the clock.
The sauce is watery
Some veggies release liquid as they cook. At the end, remove the lid for 15 to 30 minutes to reduce, or thicken with a cornstarch slurry (1 tablespoon cornstarch + 1 tablespoon cold water, stirred in and cooked until glossy).
Quick FAQ
Can I use frozen veggies in the bag?
Yes. Frozen peppers, onions, corn, and stir-fry blend veggies are huge time savers. Just know they can add extra moisture, so plan to thicken at the end if needed.
LOW or HIGH?
LOW is my default for best texture. HIGH can work when you need it, but it’s easier to overcook lean meats. If you’re unsure, start with LOW.
Do I need to brown meat first?
No, not for dump-and-go style. Browning adds flavor, but it also adds time and dishes. When I want extra depth without browning, I lean on garlic, smoked paprika, Worcestershire, soy sauce, and a little tomato paste.
Start simple this week
If you want the easiest on-ramp, do this: pick two meals that share ingredients, prep them back-to-back, and freeze them flat. Once you’ve got two future dinners waiting, it’s so much easier to keep going.
And if a bag isn’t perfectly labeled, or you forgot to press out all the air, or you spilled a little sauce on the counter, welcome to my kitchen. Dinner will still be delicious.